OneAgent
The host running the sample application were all created using scripts that installed the sample application and to install the Dynatrace OneAgent. Since we don’t have to install the OneAgent now, let’s just review its status.
Login into Dynatrace
Choose the
Deployment statusoption from the left side menu to open the OneAgent deployment page.

Review another way to install the OneAgent
Choose the
Deploy Dynatraceoption from the left side menu to open the OneAgent deployment page.Click the
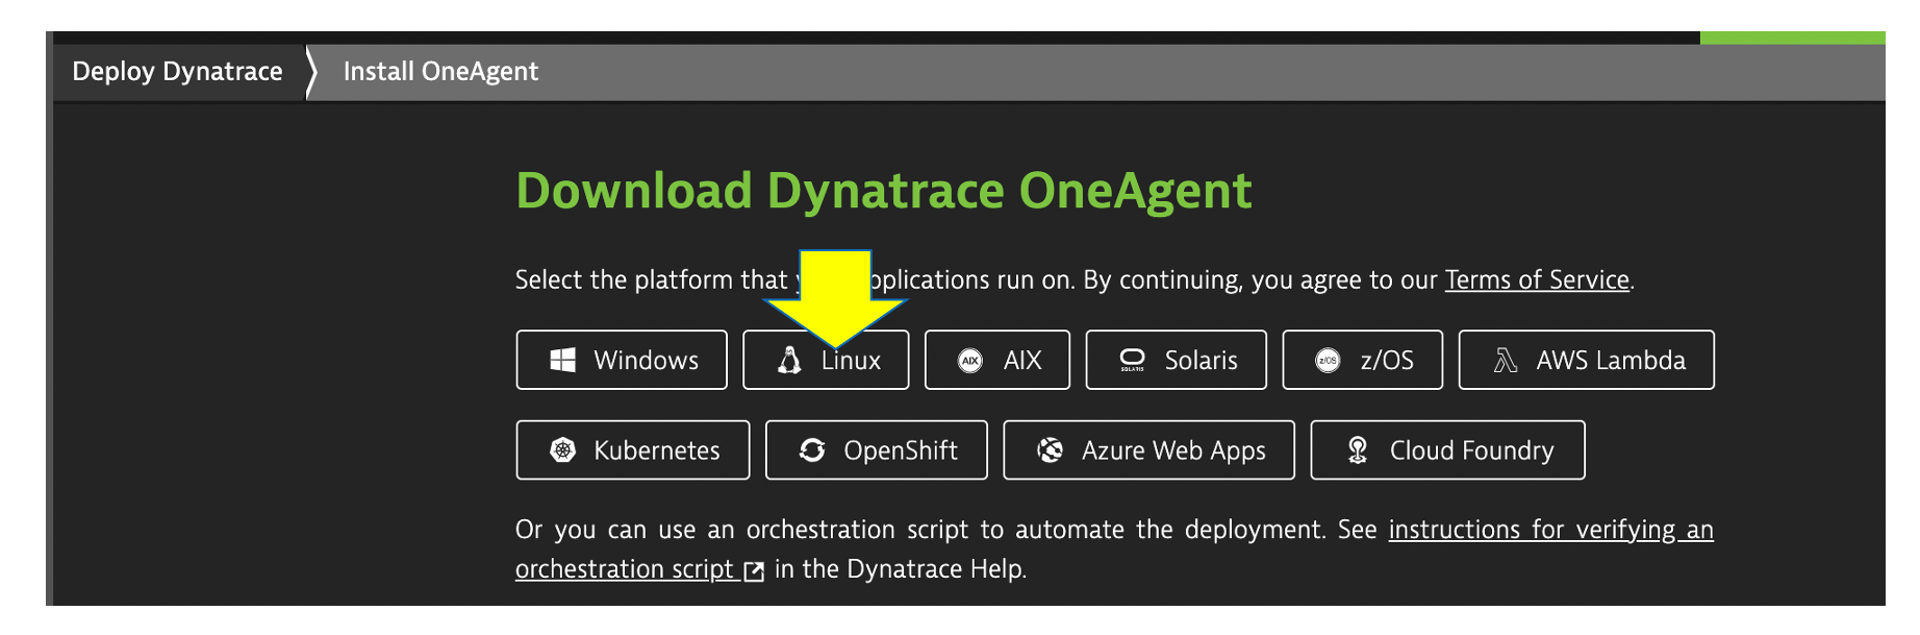
Start installationbutton. This will open the Download page.On the
Download agentpage, pick the platformLinuxto view the commands will download and run the OneAgent installer.
💥 TECHNICAL NOTE
The URL and Token is unique to your Dynatrace tenant. If you expand the Set customized options (optional). section you can review other options for the OneAgent installer.
💥 TECHNICAL NOTE
_Setting the hostname via /bin/sh Dynatrace-OneAgent-Linux-1.xxx.yyy.sh --set-host-name=my-host-name is just one of the ways to customize host naming._
1 . These are the commands used to download, verify, and install the OneAgent. That is it!

2 . Go back the Download agent page and review other options like Windows or Kubernetes.
💥 TECHNICAL NOTE
_Learn more about the various ways the OneAgent can be installed, check out the Dynatrace documentation_