Verify Cluster
Verify Cluster
Only proceed with this next step once the CloudFormation stack shows CREATE_COMPLETE status.

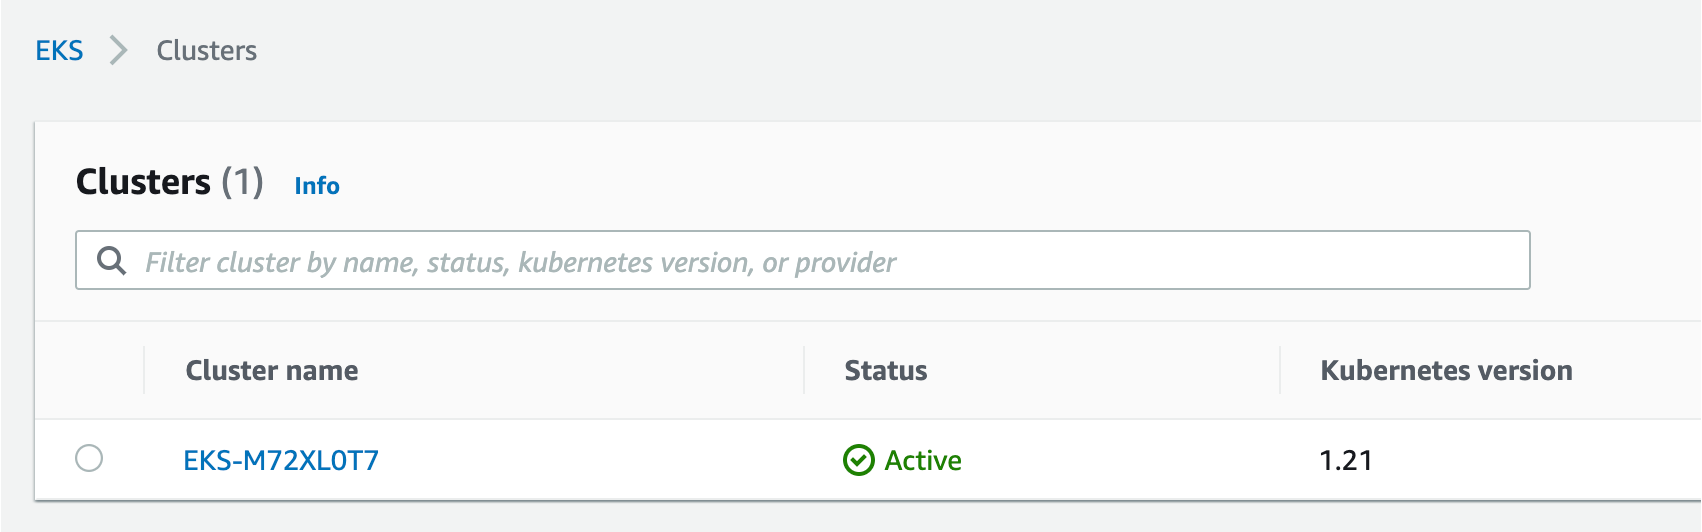
1. Verify Cluster within AWS Console
With the AWS Console, search for the Elastic Kubernetes Service or click on the link below.
The cluster page, click on the new workshop cluster. Next click on the resources tab –> in the left hand menu under the Clusters section click on Nodes. You should see a few nodes listed as shown below.
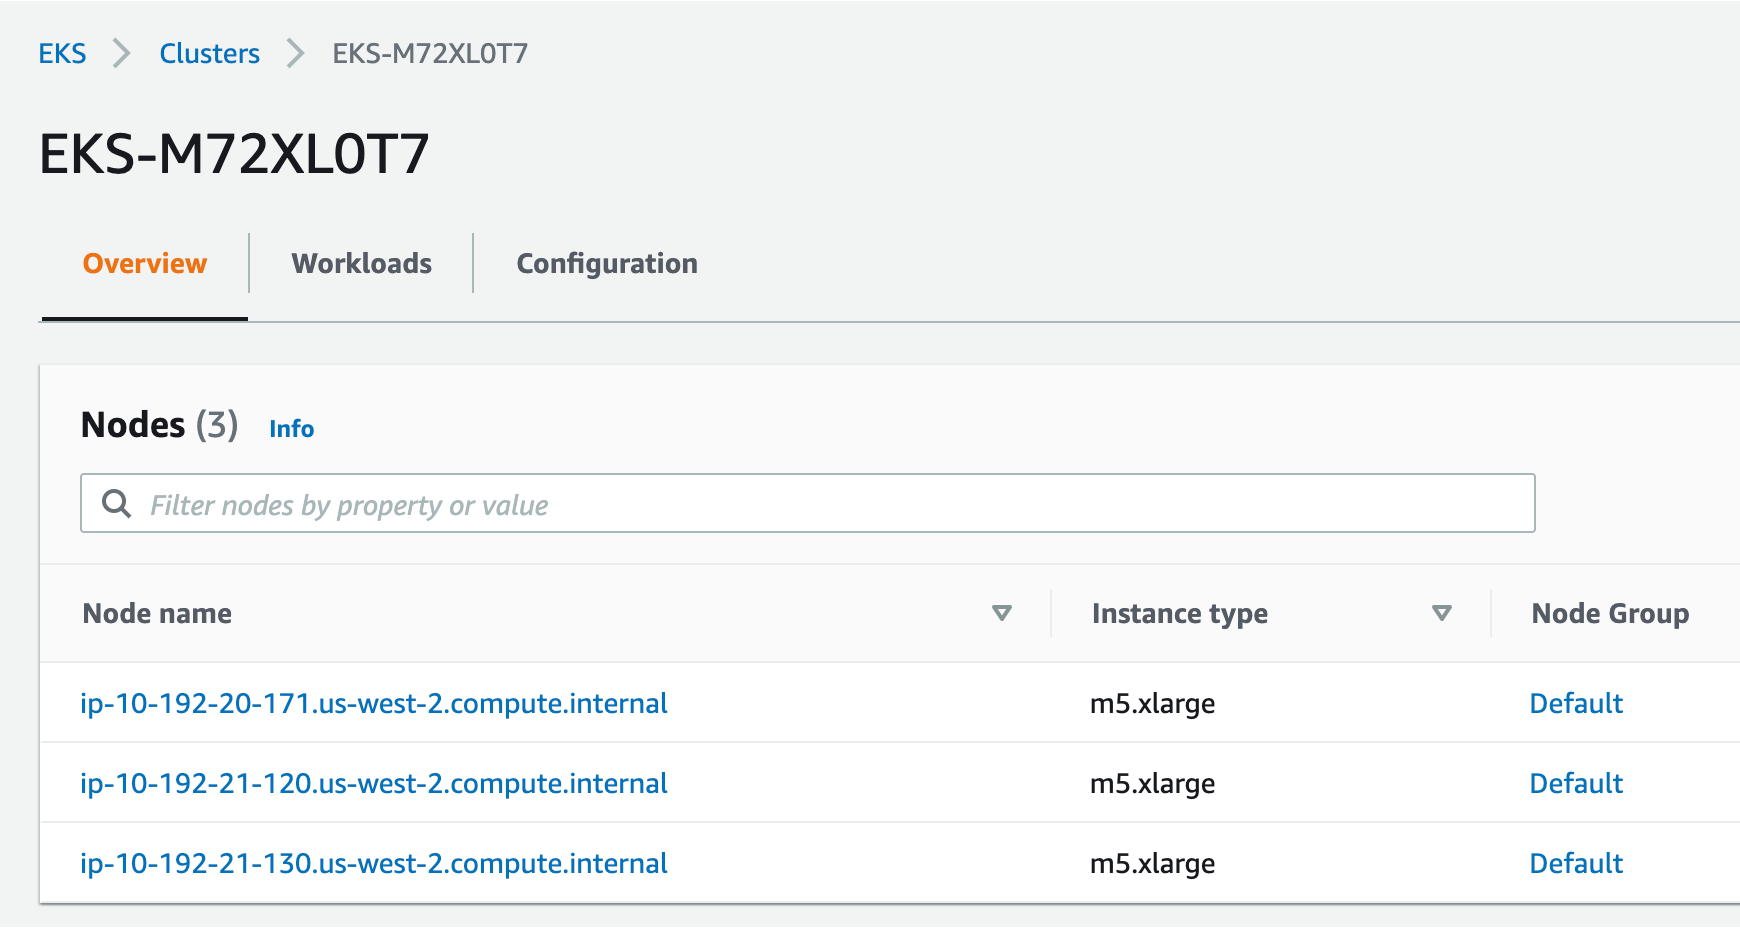
Explore the configuration and view nodes details.
2. Verify Cluster using kubectl
Using the CloudShell, you can verify the new cluster with the kubectl command line tool used to control Kubernetes clusters. content/99_cleanup/index.md
-
Run this command to display the command line options
kubectl -
Run this command to configure
kubectlto connect to the clusteraws eks update-kubeconfig --name $(aws eks list-clusters | jq -r .clusters[0]) -
Verify you are connected. You should see
dynatrace-workshopas part of the output.kubectl config current-contextThe output should look something like this:
[user-info]@dynatrace-workshop.us-west-2.eksctl.io -
List the nodes in the cluster
kubectl get nodesThe output should look like this:
NAME                                           STATUS   ROLES    AGE     VERSION
ip-192-168-31-207.us-west-2.compute.internal   Ready    <none>   5d23h   v1.21.2-eks-c1718fb
ip-192-168-86-194.us-west-2.compute.internal   Ready    <none>   5d23h   v1.21.2-eks-c1718fb
You can see even more detail with this command.
kubectl describe nodes