Lab Setup
Lab Setup
There are several ways one can configure the Dynatrace AWS monitor, but for this workshop we will use a quick solution using AWS Key based access following these basic steps:
- Create AWS IAM policy for monitoring
- Add an AWS user with Programmatic access
- Create Dynatrace AWS connection with the user AWS User Access ID and Key
Step 1 of 3: Create AWS IAM policy for monitoring
The AWS monitoring policy defines the minimum scope of permissions you need to give to Dynatrace to monitor the services running in your AWS account. Create it once and use anytime when enabling Dynatrace access to your AWS account.
1 . Go to Identity and Access Management (IAM) in your Amazon Console.
2 . Go to Policies menu option on left
3 . On the Policies page, click the Create policy button.

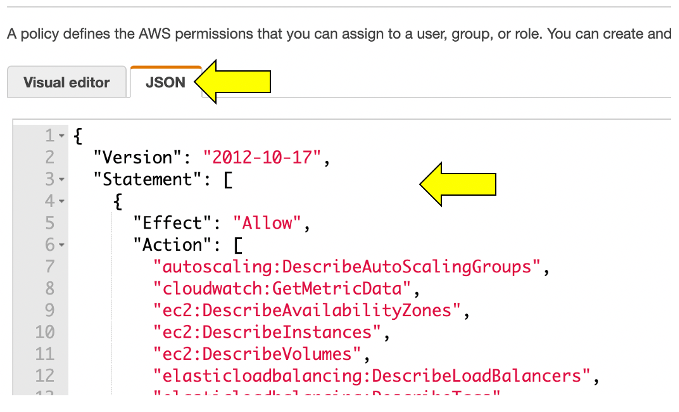
4 . On the new policy page, select the JSON tab and paste this predefined policy from the box below from the JSON from this Dynatrace page:
When you are done, it should look like this:s
5 . You can skip over the Add tags page
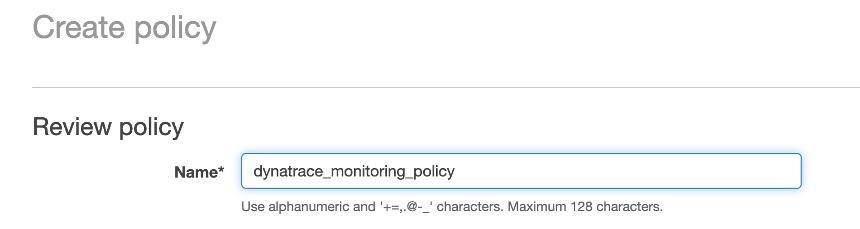
6 . One the Review policy page, use the policy name of dynatrace_monitoring_policy
7 . Click Create policy button.
Step 2 of 3: Add an AWS user with Programmatic access
Dynatrace can use access keys to make secure REST or Query protocol requests to the AWS service API. You’ll need to generate an Access key ID and a Secret access key that Dynatrace can use to get metrics from Amazon Web Services.
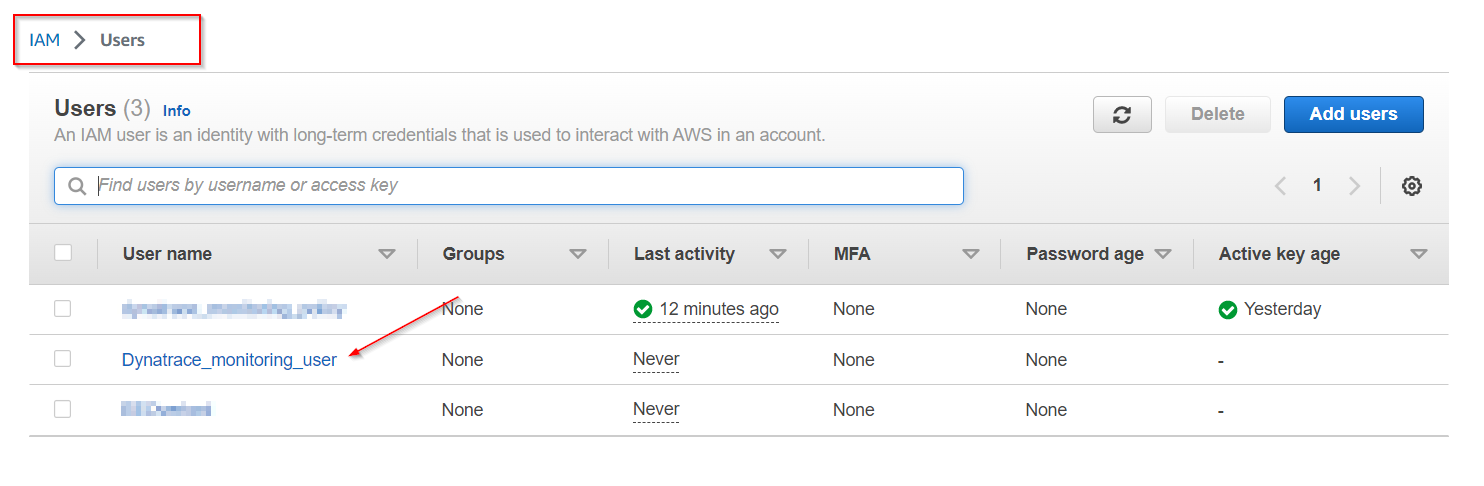
1 . On the IAM page in the AWS console, pick the Users menu
2 . On the new use page, click Add User.
- For User Name set to
Dynatrace_monitoring_user - Click the
Next:Permissionsbutton
Specify User Details

3 . On the set permissions page
- Click the
Attach existing policies directlytab - Search and choose the monitoring policy you defined in the previous step, for example
dynatrace_monitoring_policy - Click the
Click Next: Reviewbutton

4 . You can skip over the Add tags page
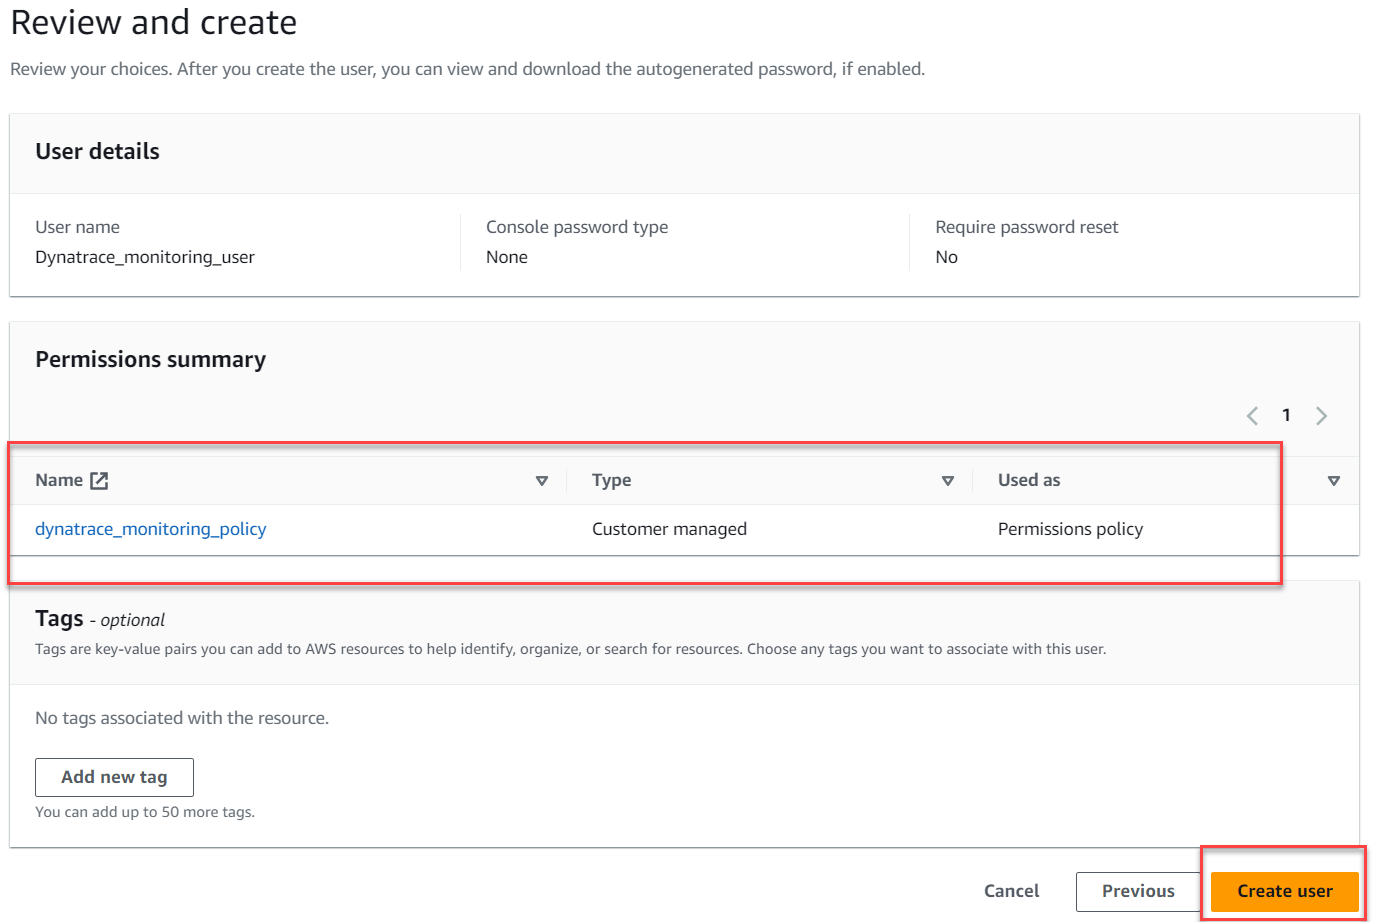
5 . Review the user details and click Create user.
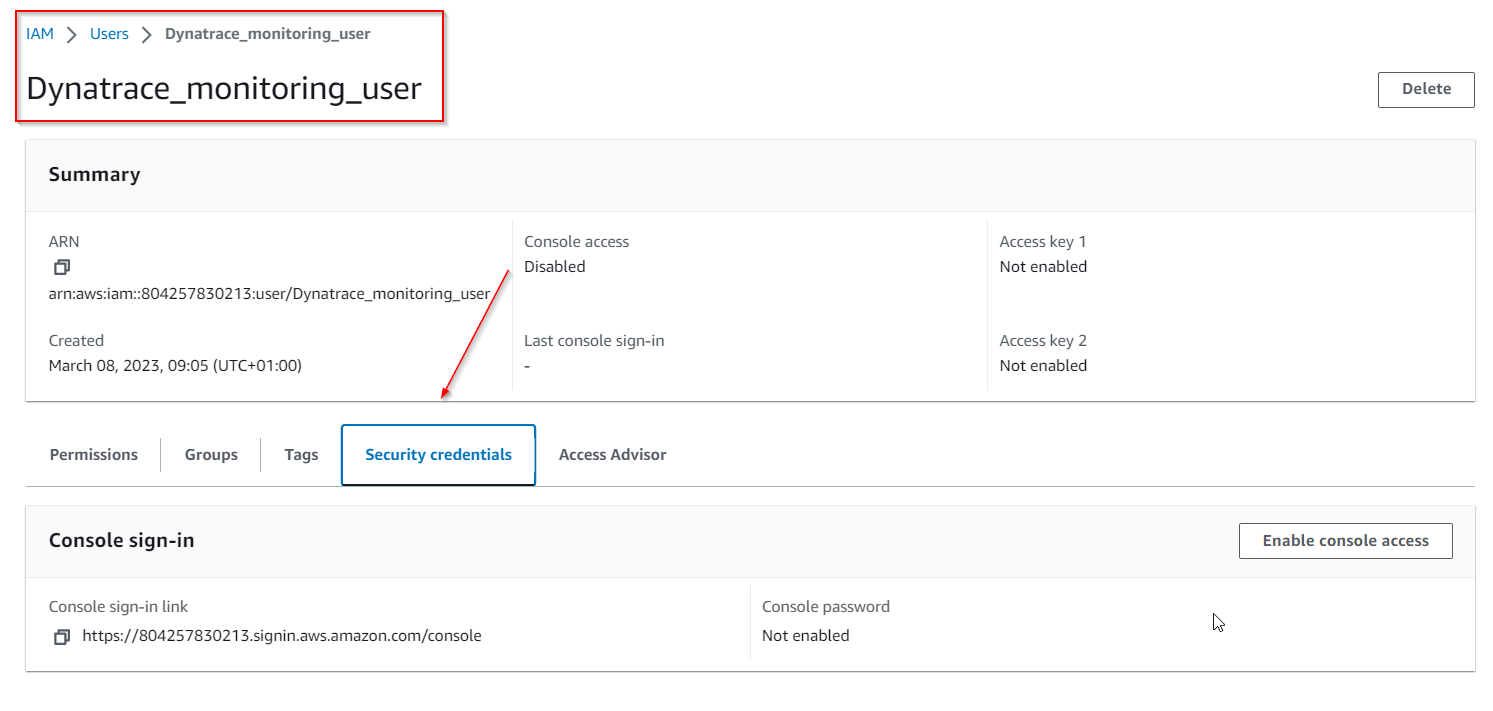
6 . In order to create an Access key and Secret, we first need to access the newly created user.
7 . Choose the Security Credentials Tab …
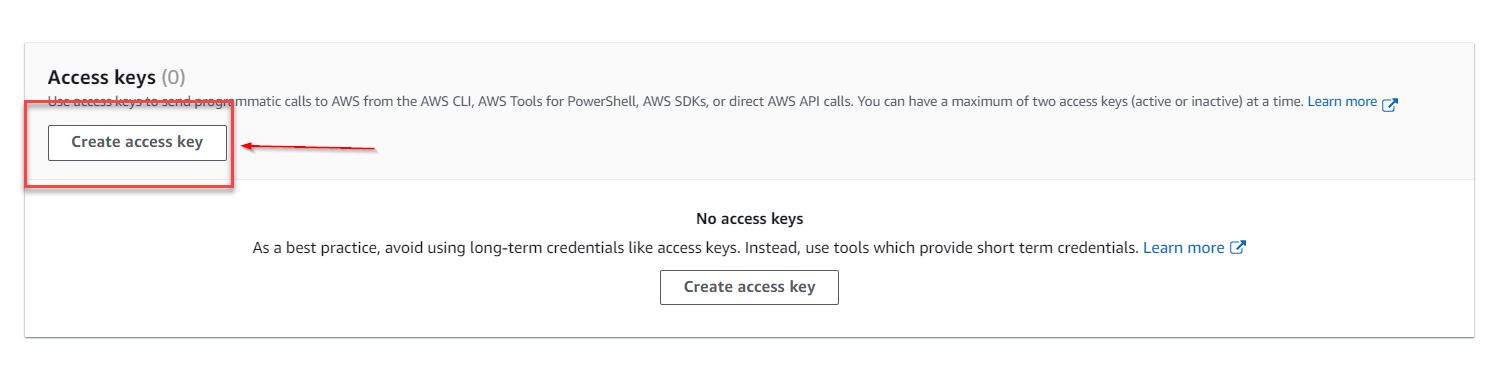
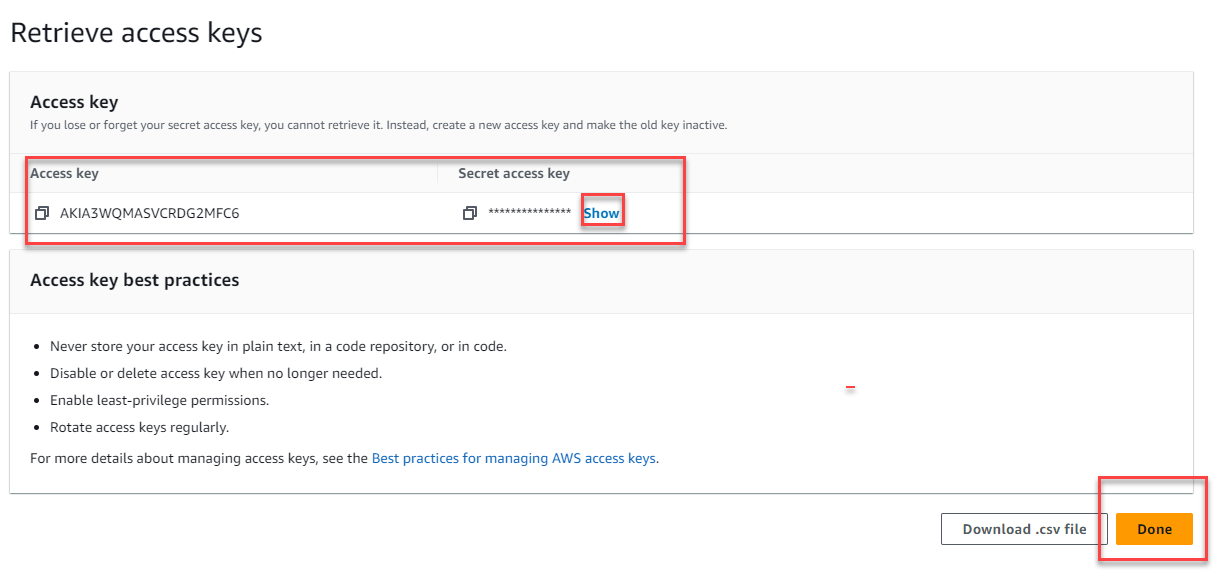
8 . and click on Create access key
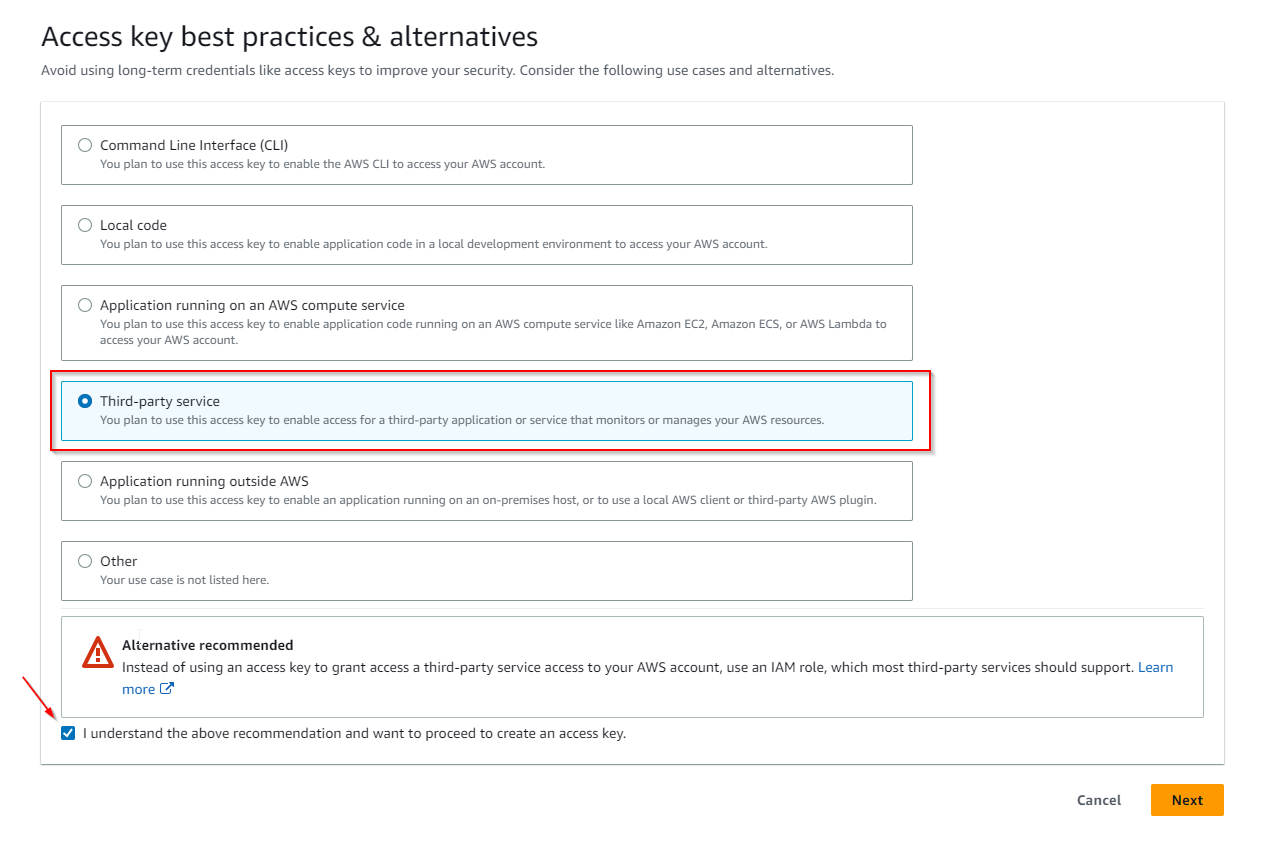
9 . In the Access key best practices & alternatives choose the Third-party service tab, check the “I understand …” box and proceed to Next .
10 . You can skip setting a description tag and directly Create access key.
11 . You can store the Access Key ID name (AKID) and Secret access key values using any of the available methods. Be mindful of the warning up top though: This is the only time that the secret access key can be viewed or downloaded. You cannot recover it later. However, you can create a new access key any time.
Step 3 of 3: Start the creation of a Dynatrace AWS connection and generate connection token
Once you’ve granted AWS access to Dynatrace, it’s time to connect Dynatrace to your Amazon AWS account.
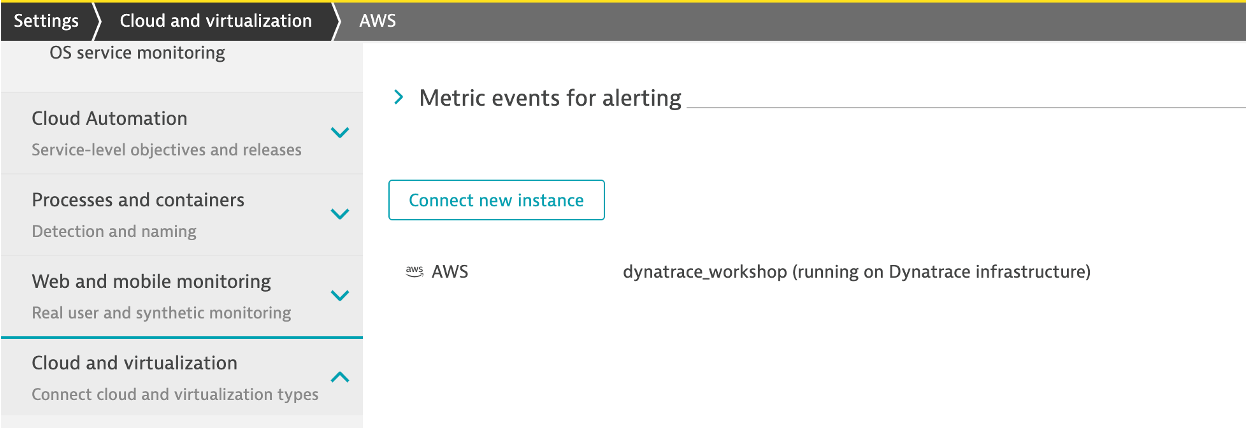
1 . In the Dynatrace menu, go to Settings > Cloud and virtualization > AWS
2 . Click Connect new instance button.
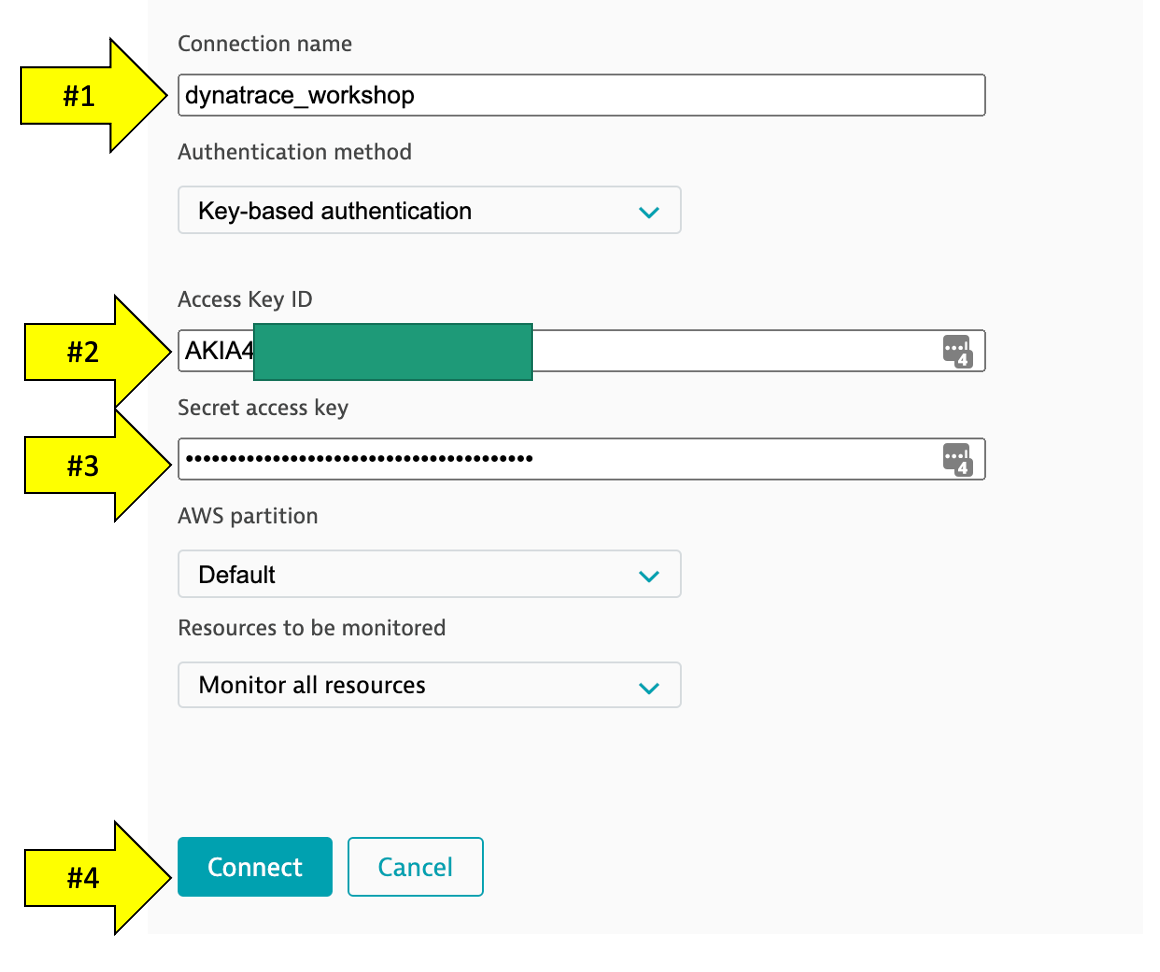
3 . Select Key-based authentication method.
- Create a name for this connection. This is mandatory. Dynatrace needs this name to identify and display the connection (For example:
dynatrace_workshop) - In the
Access key IDfield, paste the identifier of the key you created in Amazon for Dynatrace access. - In the
Secret access keyfield, paste the value of the key you created in Amazon for Dynatrace access. - Click
Connectto verify and save the connection. - Leave the other settings as default
4 . Once the connection is successfully verified and saved, your AWS account will be listed in the Cloud and virtualization settings page. If successful, your should see the configuration now on the AWS connections page: